
In the realm of engineering and DIY projects, precision is king. And when it comes to precision, dial calipers reign supreme. These versatile tools are a staple in workshops worldwide, aiding in the accurate measurement of objects’ dimensions. Whether you’re an engineering student or a DIY enthusiast, knowing how to read a dial caliper can open doors to new levels of accuracy in your projects. This comprehensive guide will walk you through everything you need to know about dial calipers, from understanding their components to troubleshooting common issues. So let’s get started!
Dial Caliper Measurements
Reading dial caliper measurements may seem intimidating at first, but with some practice, it becomes second nature. Here’s a step-by-step guide to help you read dial caliper measurements with ease:
Step 1: Close the caliper jaws and ensure the dial is set to zero. If not, adjust it accordingly.
Step 2: Open the caliper jaws and place the object you want to measure between them.
Step 3: Close the jaws until they touch the object’s surfaces without applying excessive pressure.
Step 4: Read the main scale measurement where it lines up with the vernier scale’s zero. This gives you the whole number.
Step 5: Read the dial for the decimal measurement.
Step 6: Combine the readings from the main scale and the dial to get your final measurement. For example, if the main scale reads 2.5 mm and the dial reads 0.05 mm, your measurement is 2.55 mm.
Components of a Dial Caliper
Understanding the different components of a dial caliper will help you read measurements accurately.
1) Main Scale: This is the longest scale on the caliper that displays whole number measurements in inches or millimeters.
2) Vernier Scale: The smaller scale located on the main scale that displays decimal measurements.
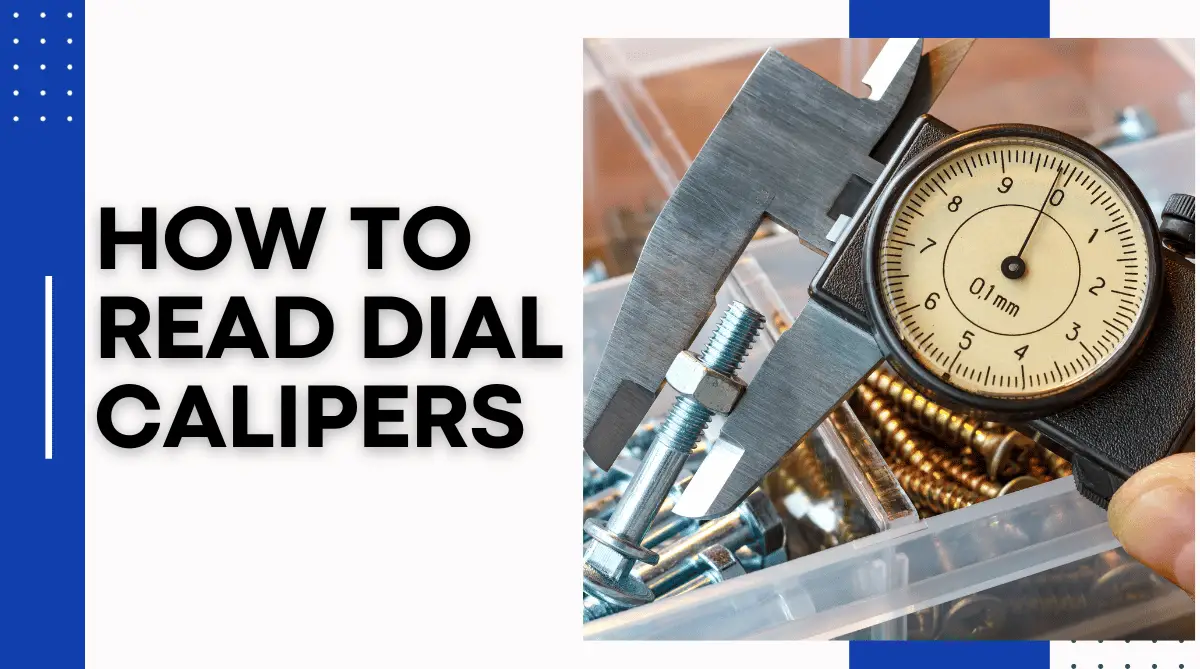
3) Dial: Located at the top of the caliper, the dial displays decimal measurements for precise readings.
4) Jaws: These are the two end pieces of the caliper that come in contact with objects being measured. The top jaw is fixed, while the bottom one can move.
5) Locking Screw: This screw locks the caliper jaws in place to prevent movement during measurements.
6) Depth Gauge: A small metal rod attached to the bottom jaw that extends outwards for measuring depths.

Tips for Using Dial Calipers
To get the most accurate readings with your dial caliper, here are a few tips to keep in mind:
**1) Always check for zero error:** Before taking any measurements, ensure that the dial is at zero. If not, use the included adjustment wrench to reset it.
2) Keep the caliper clean: Dust or debris can affect the accuracy of your measurements. Clean your caliper regularly with a soft cloth or cotton swab.
3) Avoid excessive pressure: Applying too much force when taking measurements can lead to inaccurate readings. Remember, the caliper jaws only need to make contact with the object’s surfaces without pressing down.
4) Use a light source: When measuring small objects, using a light source from behind can help you get more precise readings. The light will create a shadow, making it easier to see where the caliper jaws touch the object.
5) Practice makes perfect: Reading dial calipers takes practice, so don’t get discouraged if you struggle at first. With some practice and patience, you’ll soon become a pro.
Troubleshooting Common Issues
Just like any other tool, dial calipers can face issues that affect their accuracy and functioning. Here are some common issues and how to troubleshoot them:
1) Zero Error: If your caliper is not zeroing correctly, it may indicate either a user error or a need for calibration. Ensure you’re closing the jaws fully before setting to zero. If the problem persists, refer to the manufacturer’s guide for calibration instructions.
2) Sticking Dial: If the dial isn’t rotating smoothly, it might be due to debris or dirt. Cleaning the caliper, particularly the rack, pinion, and the inside of the dial cover, can resolve this issue.
3) Inaccurate Readings: If the caliper is giving inconsistent measurements, it may be due to excessive force when closing the jaws or wear and tear of the instrument. Always use a gentle touch when using your caliper, and consider replacing the tool if it’s old or heavily used.
Remember, proper maintenance and care of your dial calipers can maximize their lifespan and ensure accurate measurements consistently.
How Many Ways Can You Measure with a Dial Caliper?
A dial caliper is a versatile tool capable of different types of measurements:
1. Outside Measurement: This is the most common use of a dial caliper. For example, to measure a bolt’s diameter, place the bolt between the caliper’s external jaws, then read the scale.
2. Inside Measurement: These measurements are taken using the smaller jaws located at the top of the dial caliper. They’re perfect for measuring the internal dimensions of objects like tubes or holes.
3. Depth Measurement: The rod that protrudes from the end of the caliper can measure depth. Simply insert it into the area you want to measure and read the scale.
4. Step Measurement: The step measurement feature on a dial caliper is useful for objects with varying diameters, like rods or pipes.
5. Height Measurement: To measure the height of an object, use the depth gauge to measure from the base to the top.
With these different methods of measurement, a dial caliper is a valuable tool in any workshop or toolbox.
So there you have it – everything you need to know about reading, understanding, and troubleshooting dial caliper measurements. With these tips and techniques, you’ll be able to use your dial caliper with confidence and precision for all your measuring needs. Remember to practice regularly and keep your caliper clean and well-maintained for optimal performance. Happy measuring
Converting Dial Caliper Readings
Sometimes, you may need to convert your dial caliper readings from inches to millimeters or vice versa. Let’s go through an example. Suppose your dial caliper reading is 0.75 inches. To convert this to millimeters, you multiply the reading by 25.4 (as one inch is equal to 25.4 millimeters). Therefore, 0.75 inches is equivalent to 19.05 millimeters.
Conversely, if your dial caliper reading is 15 millimeters, you divide the measurement by 25.4 to get the equivalent in inches. In this case, 15 millimeters is equal to approximately 0.59 inches.
Remember to always use the appropriate conversion factor when converting between units of measurement. Some dial calipers may have a unit switch feature that allows you to toggle between inches and millimeters, making conversions easier.
Conclusion
Mastering the art of reading a dial caliper can significantly enhance your precision in engineering and DIY projects. Whether it’s understanding its components, reading measurements, or troubleshooting common issues, each skill adds a valuable tool to your precision toolkit. Remember, practice is crucial to becoming proficient in using dial calipers. So, grasp your dial caliper, measure away, and let accuracy be your new norm in every project you undertake. Happy measuring!
