
Ever wondered about the significance of nailing cylinder measurements? Think about it like this: when building a puzzle, each piece needs to fit perfectly to complete the picture. Similarly, in industries and daily life, cylinders play crucial roles, and their dimensions must be spot on for everything to work seamlessly.
In this guide, we’ll not only walk you through the steps of using a Vernier caliper but also dive deep into understanding cylinder geometry. So, whether you’re a DIY enthusiast or a professional in need of precision, this article is here to equip you with the skills to measure cylinders like a pro.
Familiarizing with Cylinder Geometry
Before we jump into the practical part, let’s take a moment to appreciate the beauty of cylinders in our everyday lives. Ever sip from a cylindrical glass? That’s one example. And then there are ball bearings, gas cylinders, and so much more. These everyday objects all have something in common – their basic shape is cylindrical.
So, why bother with accurate measurements? Well, imagine trying to fit a square peg into a round hole – it just won’t work! That’s why understanding cylinders and being able to measure them precisely is key. It’s like having the right key to open a door, ensuring everything fits perfectly.

Preparing for Measurement
Now that we’re geared up to measure cylinders, let’s talk about setting the stage. Imagine you’re preparing for a cooking adventure. You’d gather your ingredients, make sure you have the right utensils, and set up your workspace, right? Well, it’s the same with measuring cylinders.
First things first, find a clean and stable surface to work on. You want a steady foundation, like a solid table, so you can focus on getting accurate readings. And don’t forget safety! If the cylinder is particularly heavy, you might want to consider using additional support. Just like a painter needs a sturdy easel, you need a stable base for accurate measurements.
Measuring the Length of the Cylinder
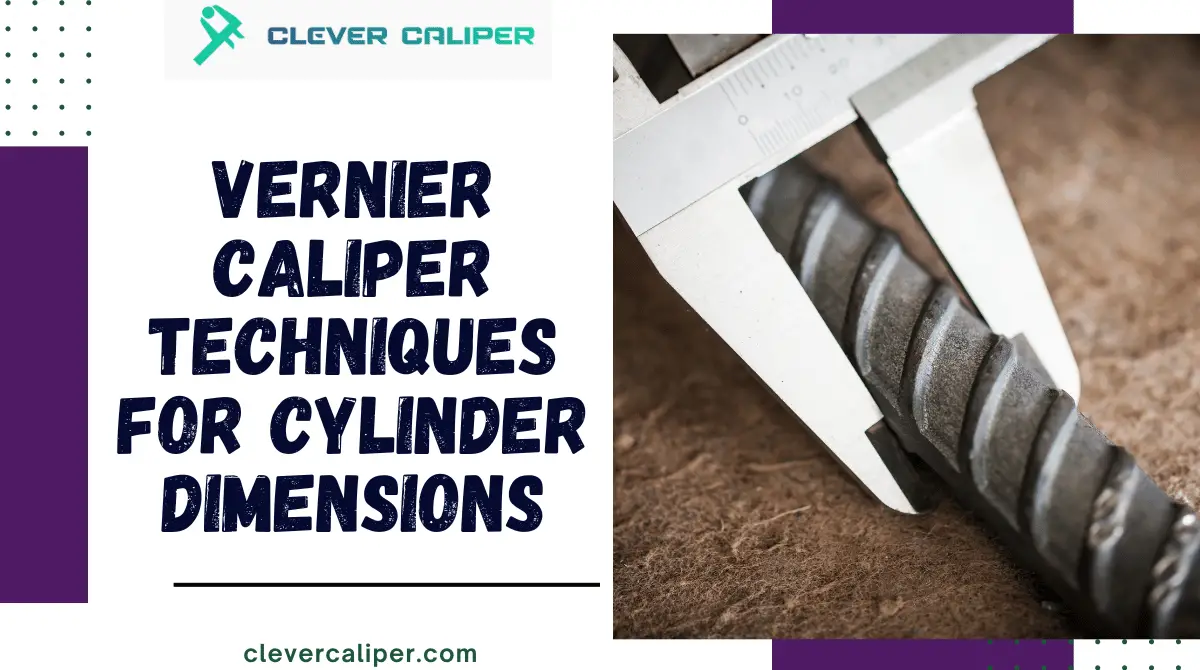
Alright, here comes the fun part – actually using the Vernier caliper! It’s like a detective’s magnifying glass, revealing the secrets of the cylinder’s length. Remember, though, even Sherlock Holmes needed some practice. So, take it easy and let’s break it down step by step.
First, gently hold the cylinder between the jaws of the caliper. Think of it as giving a friendly handshake – firm, but not too tight! Now, look at the main scale. It’s like the big picture view. Note down that Main Scale Reading (M.S.R). Then, turn your attention to the Vernier scale. It’s like zooming in for a closer look. Count the divisions until one lines up perfectly with the main scale. This is the Vernier Coincidence (n). Now, it’s just a bit of math – multiply n by the Least Count (L.C), and add it to the M.S.R. Voila! You’ve got the total reading. It’s like piecing together a puzzle, one step at a time.
Finding the Diameter of the Cylinder
Alright, let’s get hands-on with measuring the diameter of our cylinder. It’s like finding the heart of the matter! Remember, precision here is key.
- Get a Good Grip: Hold the cylinder using the lower jaws of your Vernier caliper, making sure you’ve got a firm but gentle hold. It’s a bit like holding a delicate piece of glassware.
- Main Scale Reading (M.S.R): Take note of the main scale reading. This is your starting point, like marking your spot on a treasure map.
- Vernier Coincidence (n): Now, count the number of divisions on the Vernier scale until you find the one that lines up perfectly with the main scale. This is your Vernier coincidence, a bit like finding the perfect puzzle piece.
- Rotate for Accuracy: Rotate the cylinder a bit and repeat steps 2 and 3. This ensures you’re getting a comprehensive view of the cylinder’s diameter.
- Record, Record, Record: Document your readings in a table. It’s like keeping a scorecard in a game – you want to make sure you’ve got all your data.
- Average It Out: Repeat this process at least five times from different positions. Then, take the average of all these values. This gives you a solid estimate of the cylinder’s mean diameter.
- Using the Table: If you’ve got multiple cylinders to measure, a table helps keep things organized. Label each row with the cylinder number and record the readings for later calculations.
Calculating the Mean Diameter
Now, let’s put those measurements to good use. Finding the mean diameter is like finding the center of a web, it’s where everything converges.
- Understanding Mean Diameter: Think of mean diameter as the heart of the matter, the average value that represents the whole.
- Math Magic: Add up all the diameter measurements you took and divide by the number of measurements. It’s like finding the average score of a team in a series of matches.
- Accuracy in Averages: Averaging smoothens out any small irregularities in individual measurements. It’s like getting a balanced view of a landscape after walking through it from different angles.
- Recording the Result: Document the mean diameter. This is the value you’ll use for further calculations. It’s like pinpointing the epicenter of an earthquake.
Determining the Cylinder’s Volume

Now that we have the diameter sorted, let’s get into the juicy bit – finding the volume of our cylinder. This is where things really start to take shape!
- The Volume Formula: Volume (V) equals πr²h. Think of it like figuring out how much water can fill a swimming pool based on its dimensions.
- Inserting Values: Plug in the values you’ve obtained: the mean length (L), which you’ve measured earlier, and the mean radius (half of the mean diameter). Don’t forget π, approximately 3.14159, as your trusty multiplier.
- Calculate Away: Do the math! It’s like solving a puzzle – each piece (value) fits perfectly into the formula, giving you the final picture.
- Understanding the Result: The volume will be in cubic units, representing the space the cylinder occupies. It’s like knowing how much cake batter you need for a particular cake tin.
By following these steps, you’re not just measuring a cylinder, you’re unlocking its hidden dimensions and understanding its true size and capacity. It’s like being an explorer in a land of shapes and measurements!
Frequently Asked Questions (FAQs)
Ever wondered about some of the finer details when it comes to measuring cylinders with a Vernier Caliper? Let’s clear up some of the most common queries:
Q: How Do I Ensure Consistent Cylinder Grip for Measurements?
A: It’s all about finding that sweet spot where your caliper grips the cylinder snugly but not too tightly. Think of it like finding the right balance when shaking hands – firm enough for a confident grip, but not so tight it becomes uncomfortable.
Q: What Precautions Should I Take to Avoid Measurement Errors?
A: Like a tightrope walker, precision in measurements requires focus and steadiness. Ensure your hands are steady and your caliper is properly aligned. Think of it as maintaining balance on that thin wire.
Q: Can Vernier Calipers Be Used for Irregularly Shaped Cylinders?
A: Absolutely! While the technique may vary, Vernier calipers can still be your trusty companion. Think of it like a versatile tool in your toolkit – it may need a bit of creativity, but it gets the job done.
Q: How Does Cylinder Geometry Affect Volume Calculation?
A: Picture this: a tall, slender vase versus a short, wide one. The volume they can hold is affected by their shape. Similarly, the geometry of a cylinder directly impacts its volume calculation.
Q: What Are Some Common Mistakes to Avoid When Using a Vernier Caliper for Cylinder Dimensions?
A: Just like learning to ride a bike, there are some common pitfalls. One is not ensuring a proper grip on the cylinder, leading to inaccurate measurements. It’s like trying to steer without holding onto the handlebars!
Tips for Improving Proficiency in Cylinder Measurements
Now that you’ve got the basics down, let’s fine-tune your skills for even more accurate measurements:
Practice Exercises for Enhancing Vernier Caliper Skills
It’s like hitting the training ground before the big game. Regular practice hones your skills and builds confidence.
Resources and Tools for Continuous Learning and Improvement
Think of it as adding new tools to your toolbox. Exploring additional resources can open up new techniques and approaches.
Seeking Feedback and Guidance for Mastery in Cylinder Analysis
Just like a coach fine-tunes a player’s technique, getting feedback from experienced hands can be invaluable for refining your cylinder measurement skills.
Troubleshooting Measurement Challenges
Encountered a bump in the road? Don’t worry, it happens to the best of us. Here’s how to navigate through some common measurement hiccups:
Addressing Common Issues Encountered During Cylinder Measurements
Like a seasoned sailor navigating through rough waters, knowing how to troubleshoot common issues ensures a smooth measurement process.
Strategies for Overcoming Accuracy and Consistency Concerns
It’s like tightening up your defense in a game. Fine-tuning your approach can lead to more accurate and consistent measurements.
When to Seek Professional Assistance for Complex Cylinder Analysis
Sometimes, it’s best to call in the experts. Just like hiring a seasoned guide for a challenging mountain climb, there are times when professional assistance is invaluable.
Conclusion: Mastering Cylinder Dimensions with Vernier Caliper Techniques
Congratulations! You’re well on your way to becoming a pro at measuring cylinders with a Vernier Caliper. Remember, practice makes perfect, and every measurement is a step closer to mastery.
Imagine yourself as a skilled craftsman, crafting each measurement with precision, just like a sculptor chiseling away at a masterpiece. With the right techniques and a bit of practice, you’ll be a maestro of cylinder measurements in no time!
